Setting up LocalWP for Beginners: A Step-by-Step Guide
It took me a long time to move away from XAMPP, which had been my go-to dev. environment since 2014. That was when I started developing for WordPress. I tried several other environments from time to time, but nothing every really stuck, until I discovered LocalWP.

LocalWP is a popular tool for creating local WordPress development environments. With LocalWP, you can quickly set up a local development environment for your WordPress site, allowing you to test changes and updates before pushing them to your live site.
In this post, I’ll provide a step-by-step guide for setting up LocalWP for beginners.
Setting up LocalWP first time
Step 1: Download and Install LocalWP
To get started, you’ll need to download and install LocalWP. You can download the software from their website (https://localwp.com/). Once you’ve downloaded the installer, run it, and follow the on-screen instructions to install it on your computer.
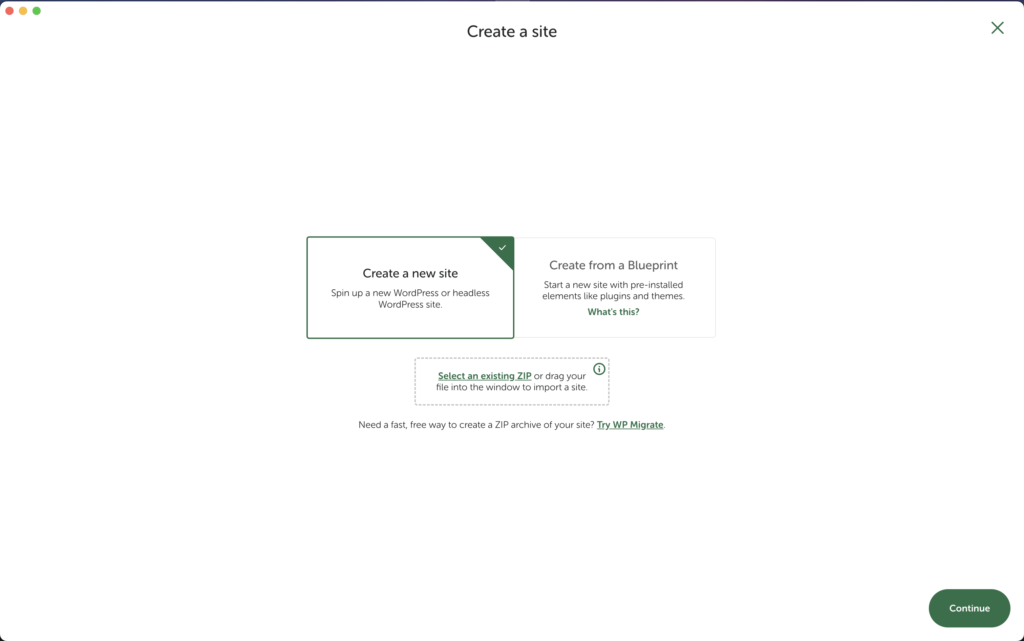
Step 2: Create a New Site
After installing LocalWP, launch the application and click the “Add Local site” button. Press “Create a new site”. Give your site a name and select the version of WordPress you want to use.
Step 3: Choose site environment
Next, you’ll need to choose site environment for your site.
Either you can go with the default “Preferred” option or customize your environment by selecting “Custom”.
For a first-time user, I recommend going with “Preferred”.
Step 4. Set up WordPress
Now for the basic WordPress setting.
Type in your username, password, and e-mail for your website administrator. If you desire, you can also select to set up a WordPress multisite, by clicking “Advanced options”.
Step 5: Installing and setting up your local WordPress site
Once you’ve configured the basic WordPress settings for your site, LocalWP will automatically download and install WordPress for you. This may take a few minutes, depending on your internet connection speed.
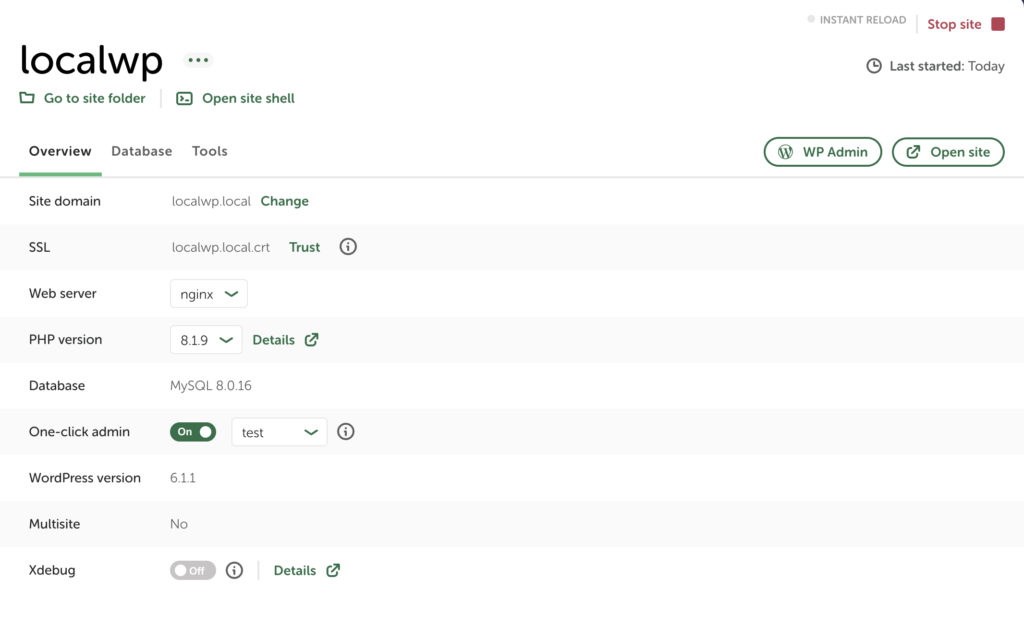
Step 6: Access Your Local Site
After installing WordPress, LocalWP will provide you with a link to access your local site. Click the link to launch your local site in your web browser. Everything should be set up.
Personally, I like to use the one-click admin access LocalWP provides.
Step 7: Start Developing!
Now that you’ve set up your local site with LocalWP, you’re ready to start developing!
You can make changes to your site, install themes and plugins, and test new features. When you’re ready to push your changes to your live site, you can use a plugin like WP Migrate DB to transfer your database and files to your live server, or WP all-in-one migration to export and import your local website to a live WordPress install.
For smaller sites, with content that doesn’t change often, I use WP all-in-one migration to migrate from localhost to live.
Wrapping it up
LocalWP is a powerful tool for creating local WordPress development environments. By following this step-by-step guide, you can easily set up your WordPress site and start developing in a safe and controlled environment.
Testing your changes on a local site, avoids potential issues and ensure that your live site remains stable and secure.